
Is it time to remove your Red Aspen press on nails and you’re wondering what the best and safest way to do that is? Don't worry, we've got you covered.
Removing Nail Dashes (or any press on nails) for the first time may seem like a tricky business, but with the right techniques and products, it’s easy!
In this blog post, we'll walk you through how to safely and easily remove your press on nails without causing damage to your nail beds for those times when you want to give your nails a breather, or for when you’re ready to pop on a new set of nails! Read on for how to make nail removal quick and painless.
*This blog will address how to remove press on nails that have been applied using glue adhesive. For how to remove Nail Dashes applied using Nail Dash Tabs (or a 2-sided adhesive tape), check out this blog!

Why you should choose Red Aspen press on Nail Dashes for ease of application and removal
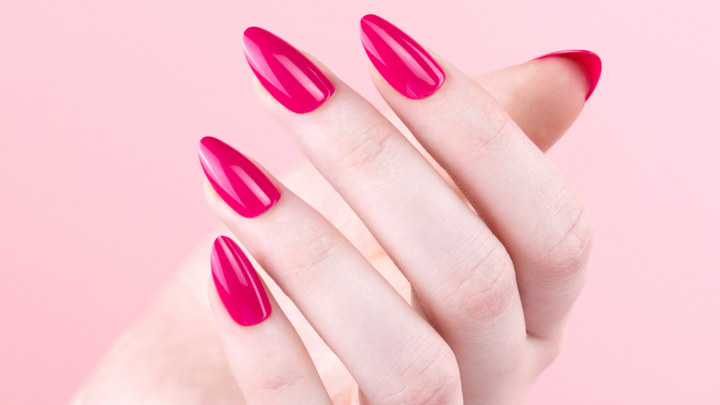
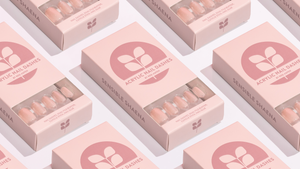
Red Aspen press on nails are a convenient and cost-effective way to get a professional-looking manicure at home. No need to make an appointment, arrange for childcare, leave work early, or pay for expensive salon visits. You can get a perfect manicure in the comfort of your own home in just minutes. Plus, with so many colors and designs to choose from (fun to classy and timeless to trendy), there’s a nail to suit your style, your sister’s style, your best friend’s style, and even your mini me’s style! (Check out our Petite Nail Dashes - sized exactly right for the littles and mini me’s in your life, or anyone else with small nail beds.)
One of the best things about Red Aspen press on nails is that they can be removed as easily as they are applied. In just a few simple steps, you can pop those nails off and have a fresh set (or dare to go bare by giving them a good buff and throwing on some of our conditioning Cuticle Oil). We even have a line of products that we’ve specifically manufactured to help remove press on nails. That means you can be worry-free about damaging your nails when taking off the artificial ones.
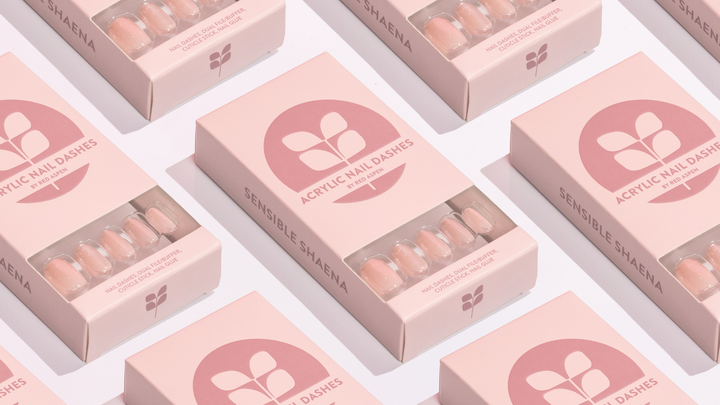
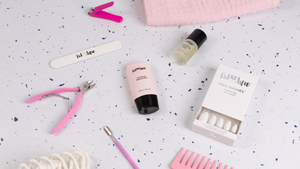
Another benefit of Red Aspen press on nails is their longevity. Unlike traditional polish which fades in a few days or chips within hours, these fake nails stay put and can be changed out as often as you like. Nail application is a breeze since every box of Red Aspen Nail Dashes includes nails in multiple sizes, a cuticle pusher (otherwise known as an orangewood stick), mini nail glue, and a mini nail file. Let’s get started!

How to remove press on nails to avoid damage
It can feel intimidating the first time you remove Nail Dashes (and any kind of fake nails in general), but it shouldn’t because it’s actually really easy. Just make sure you set aside about 10-20 minutes for it while you’re watching your fave reality television show or binging Netflix.
Step 1: Prepare your nails.
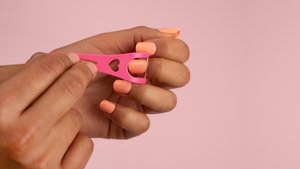
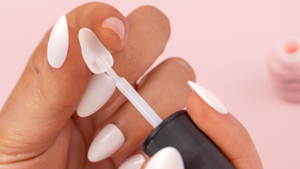
The first step to safely remove press-on nails is to take a cuticle stick, or Nail Dash Removal Tool, and gently break the seal around the edge of each Nail Dash. Look for anywhere you’re starting to have an edge or the nail is lifting up a little, and just slide the point of the cuticle stick or Removal Tool along the edge of the fake nail and your cuticle. The goal is to create an opening where a little water or Cuticle Oil can penetrate between the press on nail and your real nail!
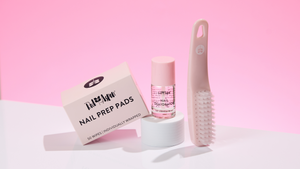
Step 2: Apply Cuticle Oil.
The next step is to apply a little Cuticle Oil to your cuticles, and let it soak in to loosen the adhesive. Oils help break down adhesive, plus our Cuticle Oil is ultra-hydrating with ingredients like Argan, Jojoba, Rosehip, and Grape Seed Oils to give nails the TLC they need. And since you’ve already got a little opening between the press on nail and your nail, that Cuticle Oil can really permeate in between!

Step 3: Optional - Soak fingertips.
Next, you can opt to soak your nails by placing fingertips in warm, soapy water for 10 minutes, or until the adhesive begins to loosen from the nail. You can even add a few extra drops of Cuticle Oil to the soapy water for some added OOMPH! If you want to skip this step, then just keep applying Cuticle Oil and working it between the Nail Dash and your natural nail using the cuticle stick and the oil will continue breaking down the adhesive.
Step 4: Gently loosen and remove press on nails.
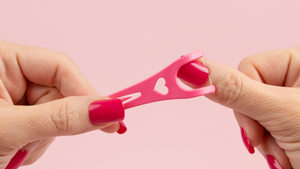
Once the nails start lifting, you can gently pop each Nail Dash up off. If they don’t easily lift up, you can continue to repeat steps 2 and 3, or use the cuticle pusher or Nail Dash Removal Tool to carefully lift the press on nail away from the natural nail. Our Removal Tool has a flossed side that you can use to gently slide between your nail and the Nail Dash and use to work the fake nail off.

Pro Tip: Take your time and be careful not to apply too much pressure since that might cause damage to your natural nail.
It's important to be gentle and take your time when removing press-ons. Improper removal, like tugging too hard or using harsh chemicals, can cause damage to your natural nails. With the right products and techniques, you can easily remove your press-on nails without any harm!
Step 5: File and buff nails.
After your Dashes have been removed, you can use a Nail File or Nail Buffer to take off any leftover nail glue. Taking the step of removing any lingering adhesive will prevent it from affecting the finished look of your next mani!

Step 6: Apply Cuticle Oil or Hand Cream.
Finally, apply Cuticle Oil or Hand Cream to the nail and cuticle area to moisturize and restore your natural nail beds. From here, you can use your Red Aspen Nail File and Nail Clipper to shorten your nails to your desired length.
By following these simple steps, you can quickly and easily remove your Red Aspen press on nails without damaging your natural nails or your press on nails! (Nail Dashes can be reused!)

In Conclusion
Removing press ons doesn't have to be difficult or damaging to your natural nails. With the right techniques and products, it is easy and painless to remove Red Aspen press on nails! By following these simple steps, you'll not only be able to enjoy salon-style manicures longer, but you can also ensure that your nails are healthy in the long run!
Skip the salon, chipping nail polish, drying tin foil soaks, acrylic nail removal process, and hundreds of dollars each month, and switch to Nail Dashes. Make sure to stock up on Red Aspen Nail Dashes for easy, salon-quality nails at home in a DASH!
Written by: Kerry Cron
Done reading? Return to home.