

Frequently Bought With
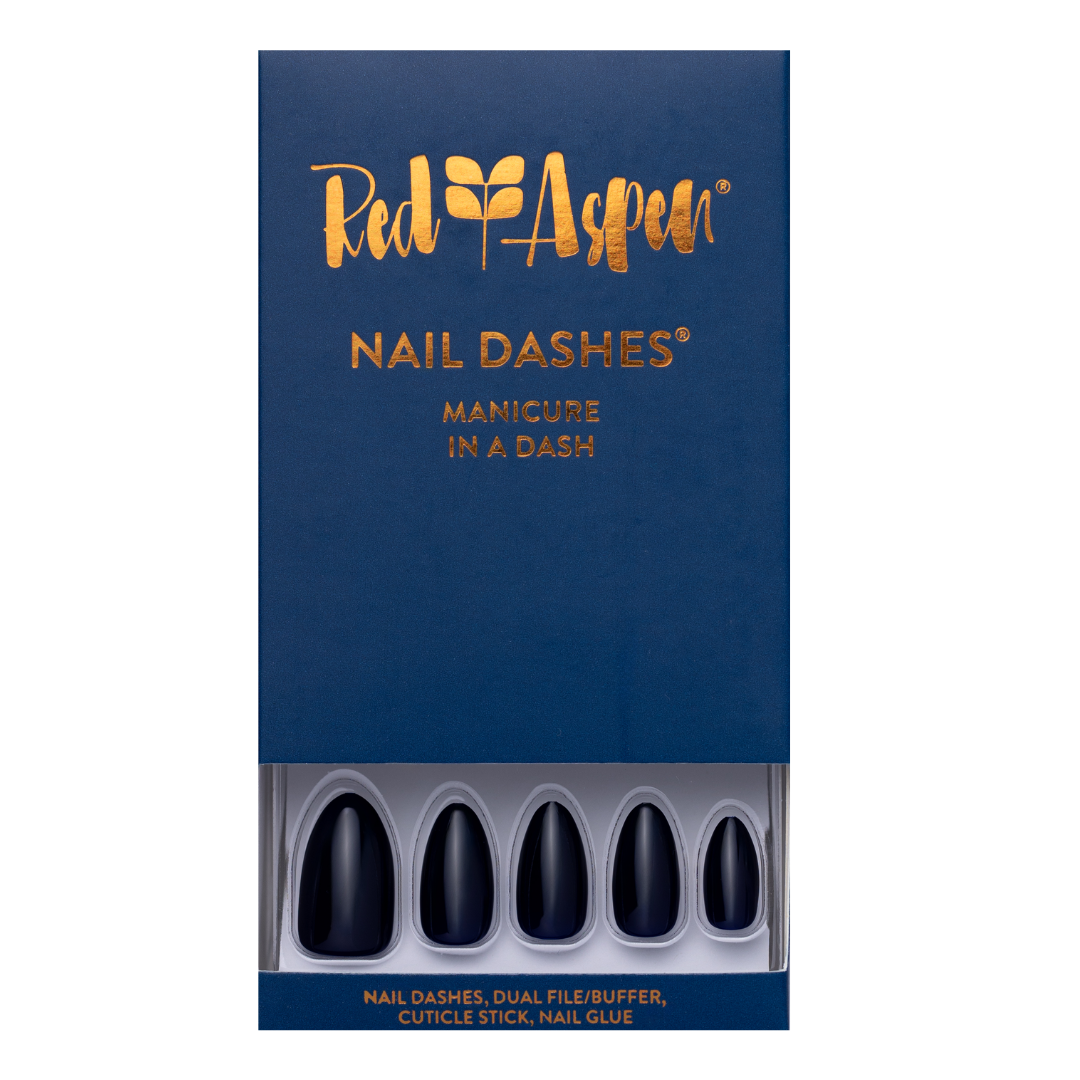
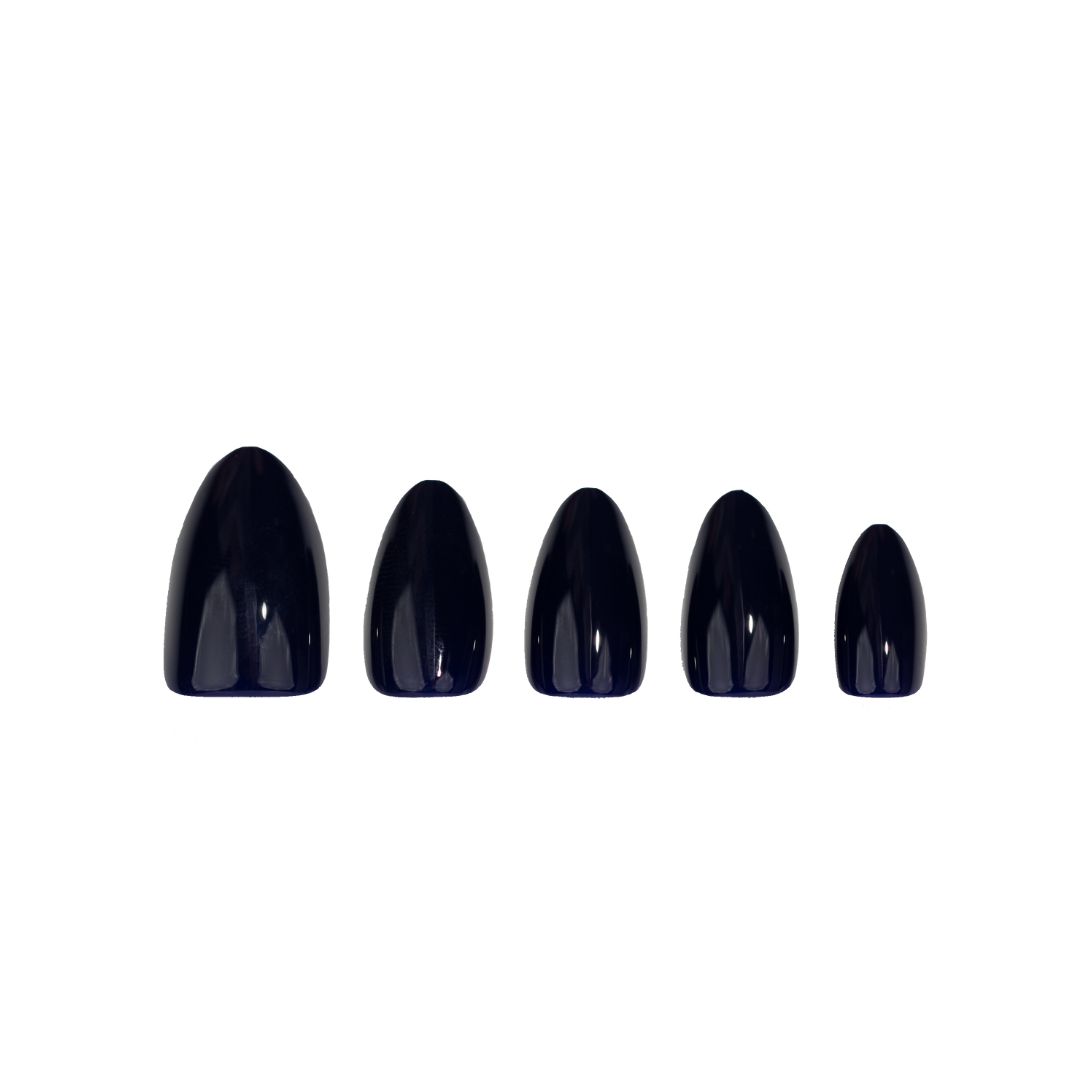
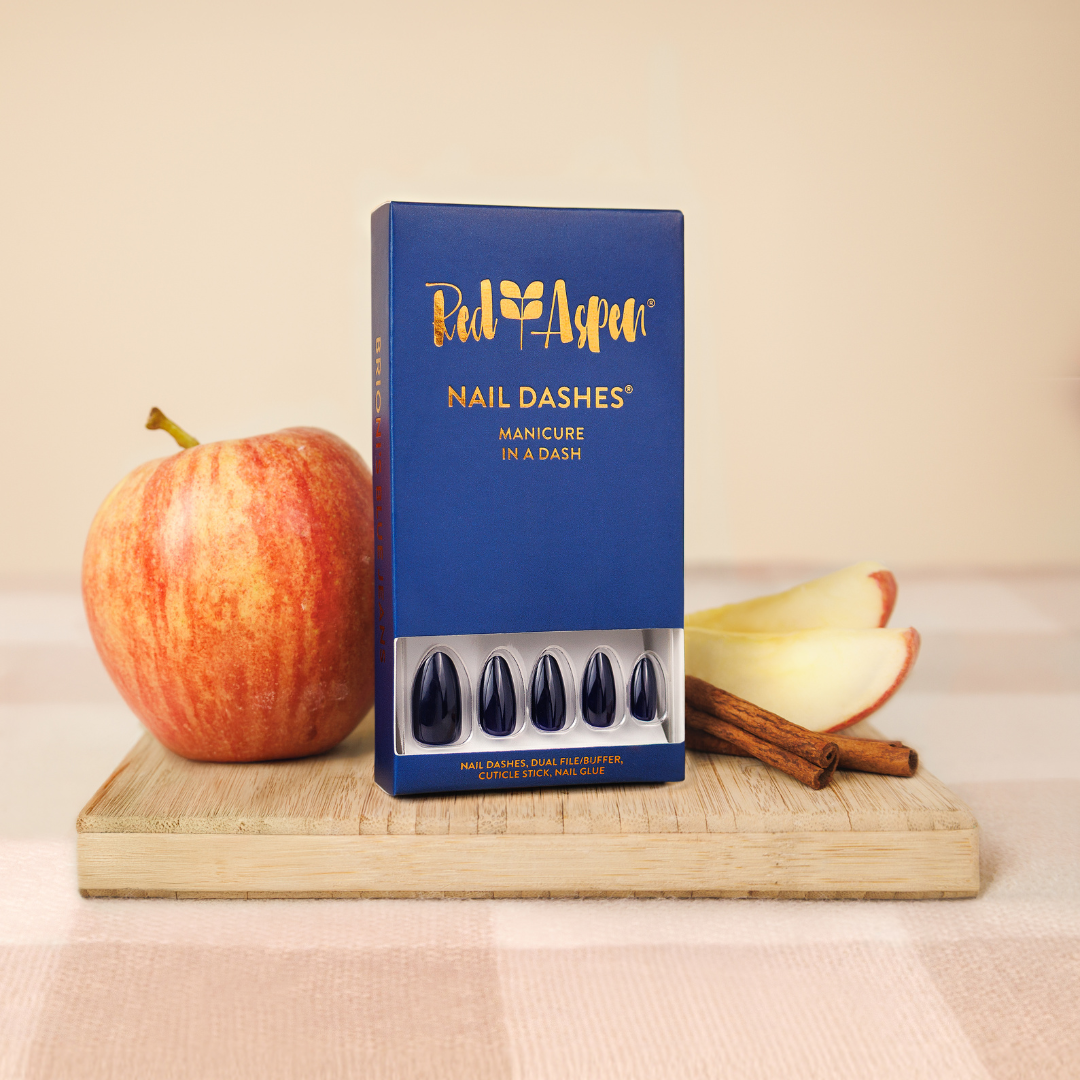
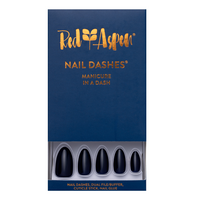
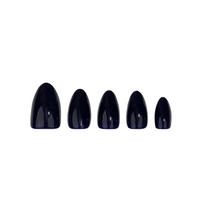
24-30 press on nails in multiple sizes to fit petite, average, and large nail beds
Mini nail file
Mini cuticle pusher stick
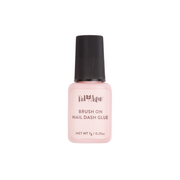
Mini nail glue
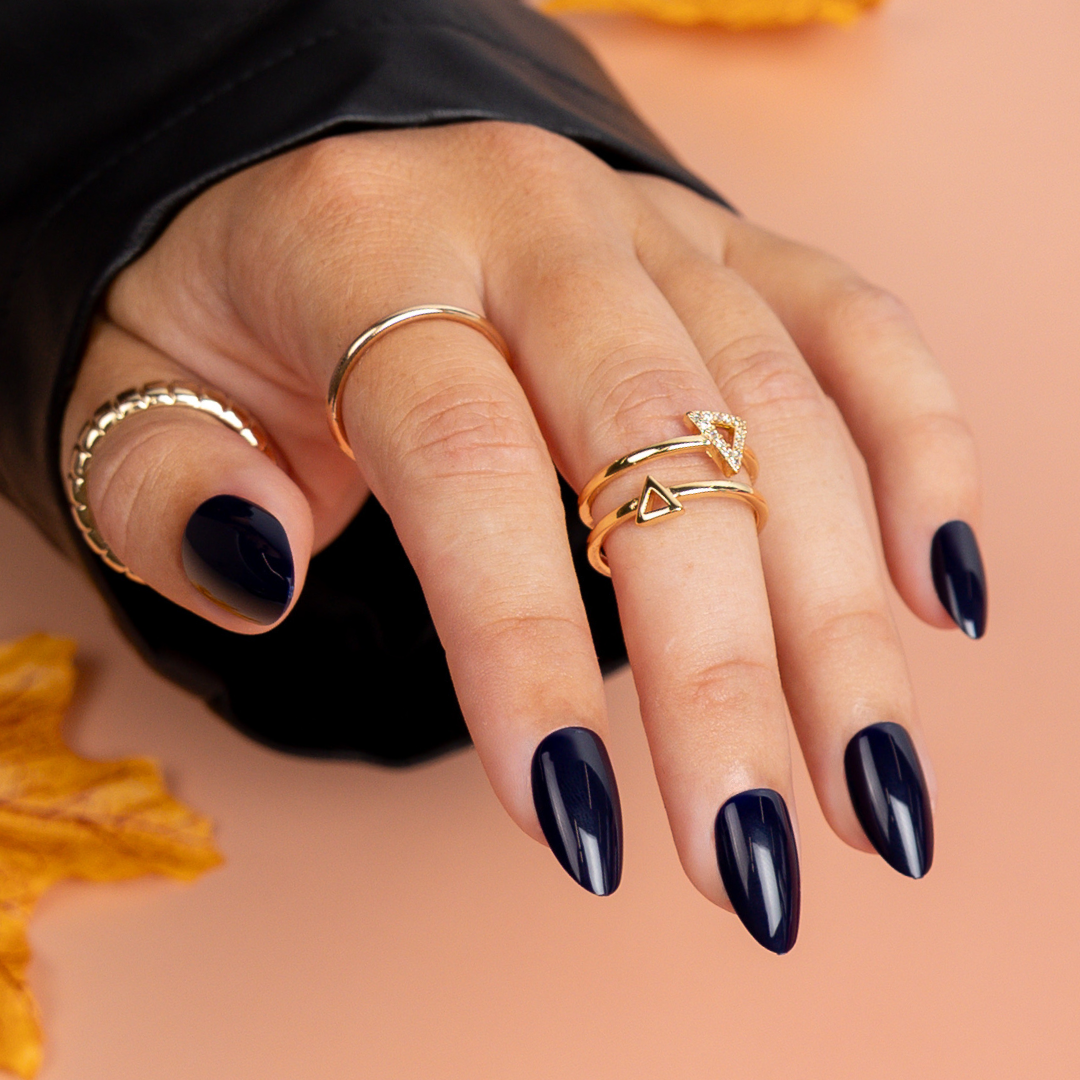
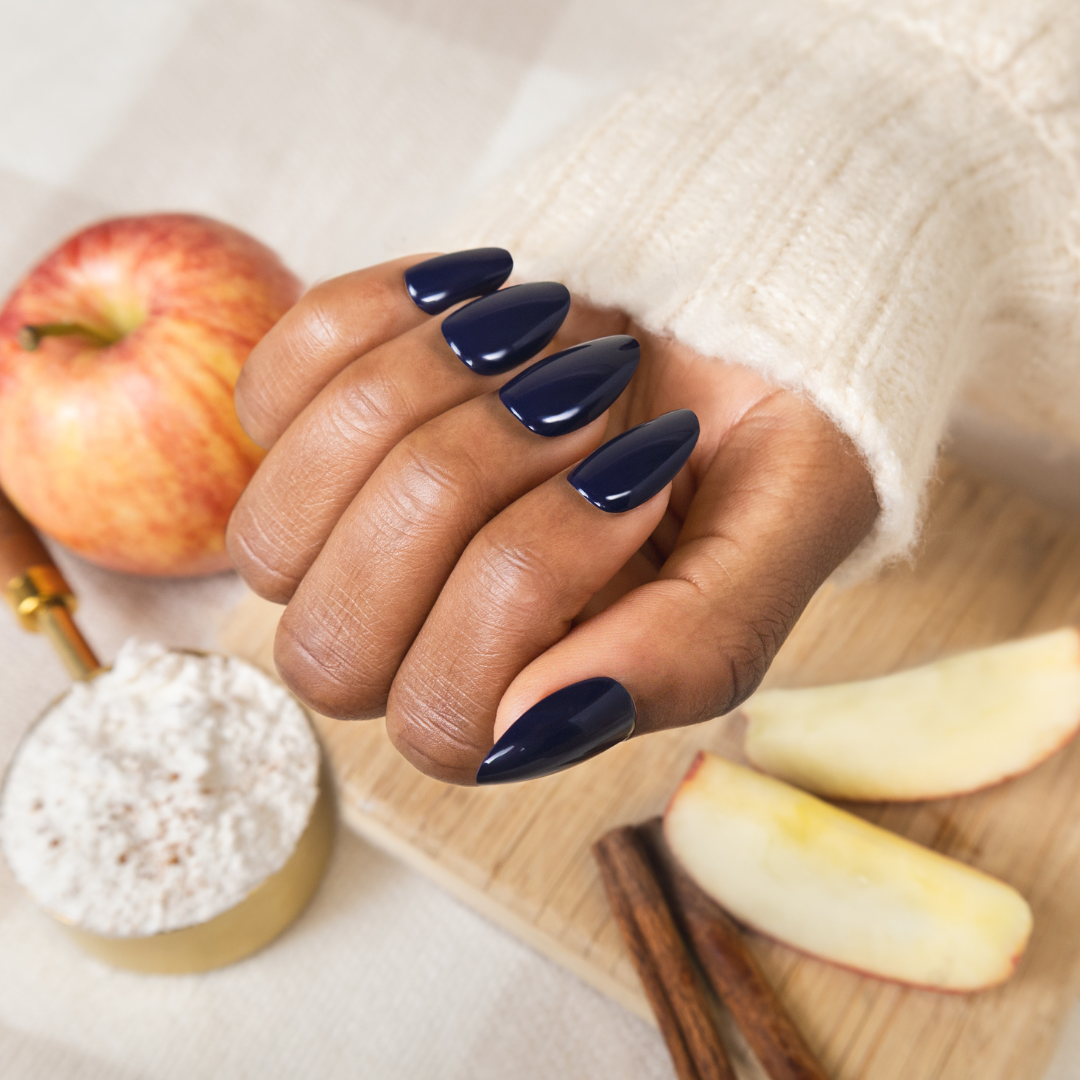
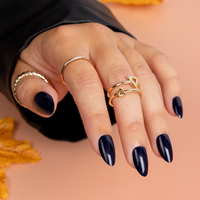
Brioni's Blue Jeans

Benefits
Description


Nail File
A 2-sided emery board, featuring two different grit finishes to shape nails.

Nail Prep Pads
Quickly wipe away dirt and debris from your natural nails for easier nail dash application and longer-lasting wear.

Nail Dehydrator
Extend the life of your manicure with this quick-drying formula designed to keep your press-ons in place for longer.

Nail Glue
A powerful, fast-drying formula that creates a bond that helps your press on nails last for up to two weeks.

Nail Dashes


Nail Dash Removal Tool
Easily remove press on nails with the Red Aspen Nail Dash Removal Tool!

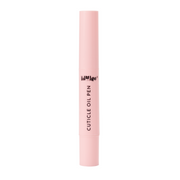
Cuticle Oil
Remove your nail dashes while nourishing and moisturizing your cuticles using Red Aspen Cuticle Oil.

Nail Dash Removal Bundle
Get everything you need to easily remove your press-on nails in one convenient kit!


