


"Littles love this set!"
Sold Out


Frequently Bought With
Red Aspen Nails are a customizable, press on manicure that can be applied in minutes at a fraction of the salon cost. Red Aspen Dashes come in a variety of nail shapes and lengths and can be worn for up to 2 weeks or switched out every few days. Press on, reshape and mix up your mani in minutes with Red Aspen press on nails. Get a Manicure in a Dash with the best press on nails around!
Petite Nail Dashes are intended for individuals over the age of 8 years old.
Each Nail Dash set includes:
24-30 press on nails in multiple sizes to fit petite nail beds
Mini nail file
Mini cuticle pusher stick
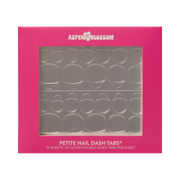
Petite dash tabs
Nail Prep
1. Begin with bare nails. Wash and dry hands.
2. Push back cuticles.
3. Lightly file surface of nail bed. Clean nails with rubbing alcohol for better Dash adhesion.
4. Dashes are sized by a number located on the back of each Dash. Select Dash size that best fits each finger and arrange in order.
Tip: Number goes at the TOP of the nail, farthest from cuticle.
Application
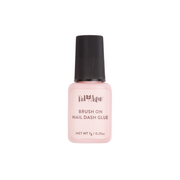
1. Apply included Nail Dash Tabs* or nail glue (sold separately) to natural nail and/or back of Dash.
2. Align Dash with cuticle and apply at a 45° angle.
3. Press Dash to natural nail firmly for 30 seconds.
4. Clip or file Nail Dashes to desired length or shape.
How to remove:
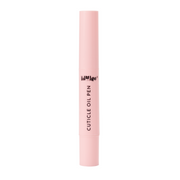
1. Use cuticle stick to gently break seal around edges of Nail Dash. Apply cuticle oil around and under the Dash; let oil soak in to loosen adhesive.
2. Option 1: Repeat step 1 until Nail Dashes gently pop off.
Option 2: Soak nails for 10 minutes in warm, soapy water mixed with a few drops of cuticle oil.
3. Gently lift and apply light pressure to remove Dash, or use Nail Dash Remover tool.
4. Remove excess glue with nail file or nail buffer.
Tip: Never force Dash removal. Wait 5+ days or until Nail Dashes begin to pop off before removing.
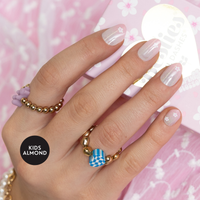
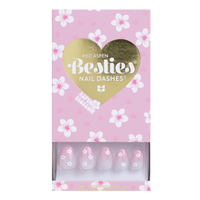
Besties in Bloom, Keke
$12.00


Benefits
Description
Besties in Bloom, Keke kids almond press on nails come in a pink shiny finish with an ombre, glitter, and flower nail design.
Aspen Blossom are designed by kids for kids!
Aspen Blossom are designed by kids for kids!
Petite Nail Dashes are intended for individuals over the age of 8 years old.
Overall rating: 4.0 / 5 from 2 reviews.
AI Generated Review Summary
Summary topics
Review topics: [].
Review highlights
Reviews
Wasn’t what I expected
"Wasn’t what I expected"
Q&A
Overall rating: 4.0 / 5 from 2 reviews.
AI Generated Review Summary
Summary topics
Review topics: [].
Review highlights
Reviews
"Littles love this set!"
Wasn’t what I expected
"Wasn’t what I expected"