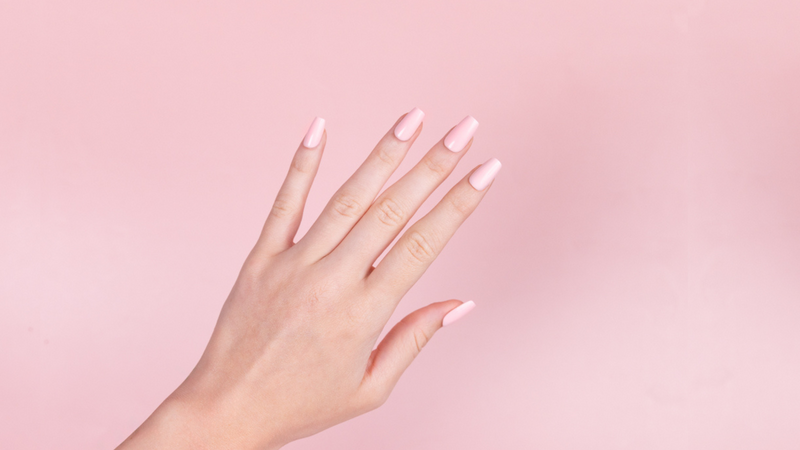
If you follow the correct instructions, prepare your natural nails thoroughly, and use high-quality products (more on that later!), applying press-on nails with nail glue can be quick, simple, and totally hassle-free.
Keep reading for the step-by-step DIY manicure process to apply fake nails with glue. You’ll look like you just left an appointment at your local high-end salon—while saving you anywhere from $20 to $50 on the price of a professional mani!
Gather Your Supplies
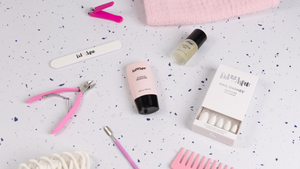
Here’s what you’ll need to transform your nails with press-ons:
- Nail polish remover
- Nail clippers
- Nail file
- Nail buffer
- Cuticle pusher stick
- A bowl of warm water
- Rubbing alcohol and cotton rounds
- Nail glue
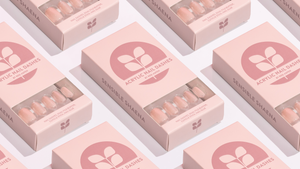
- A press-on nail set, such as a Red Aspen Nail Dashes kit (which comes with 24 nails as well as a cuticle stick, a buffer/file combo, nail glue, and a silver mat)
Make sure you have every supply you’ll need before you begin applying press-on nails, so you don’t end up halfway through the process and realize you need to run to the store for some more nail glue.
Prepare Your Nails
Preparing your nail beds and cuticles before applying your press-on nails will ensure that the final result looks as clean and natural as possible. It will also help your manicure last longer.
Clean Your Nails
Start by removing any existing nail polish, then washing and drying your hands so they’re free of any oils or other residues.
Clean Up Your Cuticles
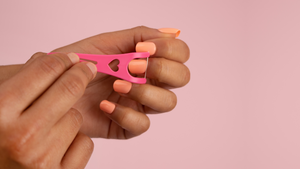
Next, soak your nails in a bowl of warm water for several minutes to soften your cuticles. Then push your cuticles back with a cuticle pusher stick (but don’t trim the cuticles, as this can lead to infection).
Trim, File, and Buff Your Nails

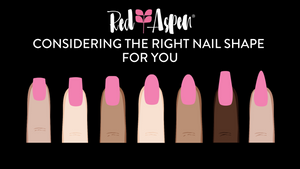
At this point, trim and/or file your nails down to the desired shape and length. Don’t worry too much about this step—hatever you choose is less important than you’d think, because the shape and length of the press-on nails should cover up your natural nail shape.
In addition, use your nail buffer to gently buff the surface of your nails and smooth out any ridges or uneven areas and ensure your nails are perfectly pristine palettes.
Wipe Nails with Rubbing Alcohol
To remove excess oil from your nail beds, wipe them down with rubbing alcohol and let it fully evaporate. This will ensure maximum adhesion and staying power of the nail glue you’re about to apply.
Choose 10 Press-Ons That Fit Your Nail Beds

Before you start applying individual press-ons to each nail, be sure to set aside ten press-ons that fit your natural nails so they’re ready to go once you begin the (somewhat time-sensitive) application step.
Apply Nail Glue and Press-On Nails
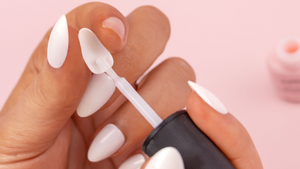
Starting from your pinkies and working your way toward your thumbs, glue down each nail one by one. For each nail, apply the nail glue to each of your natural nails and (depending on how long you intend to wear them) the back of your press-on nails.

Here’s how much glue to use, depending on how long you plan to wear your press-ons:
- 1-3 days: Apply a thin line of glue from the natural nail, cuticle to tip
- 4-6 days: Apply a pearl-sized dot of glue to the natural nail
- 7-14 days: Apply a thin layer of glue to the back of the press-on nail and a pea size dot of glue to the natural nail
Allow the glue to dry for several seconds, and then begin applying by aligning the base of each press-on nail with the cuticle and applying them at a 45-degree angle. Press down on each nail firmly for 30 seconds to keep it in place.
Customize Your Nails
The press-ons you’re using may already be an ideal length and shape for you, or you might need to take off some length and/or shape the fake nails a bit to truly customize your manicure. You can even add additional nail art to your press-ons, if desired.

Looking for nail art inspo? Check this out:
- Halloween, rockstar, and fall-themed nails from Red Aspen’s newest POP Collection
- The best summer festival nail ideas
- Classic and creative back to school nail options
The Best Press-On Nails
Excited about doing your own professional-quality manicure in just a few minutes, but unsure how to select the best brand of press-on nails? We’ve got you!
Red Aspen Nail Dashes

Red Aspen Nail Dashes are an ideal choice for a customizable, non-damaging mani that can be applied in only a few minutes (and for much less than a visit to your local nail salon). You can change them every few days to match them to your outfits, or you can wear them for as long as two weeks straight—whatever you prefer.
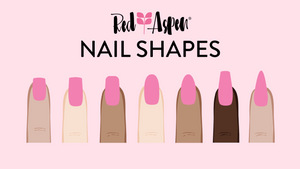
Style-wise, your options are practically unlimited! Our Nail Dashes come in a variety of different shapes (like square, almond, round, coffin, and more), lengths from petite to extra long, and finishes ranging from shiny to matte and glitter to chrome. Plus, many of these shapes, lengths, and finishes would be difficult to obtain through alternatives like polish, stickers, or wraps.

Nail Dashes are also easy to apply in minutes (simply follow the steps above), and won’t damage your natural nails. Better yet, they’re cruelty-free, sulfate-free, phthalate-free, paraben-free, and vegan, so they’re also guilt-free!
Written by: Kerry Cron
Done reading? Return to home.


