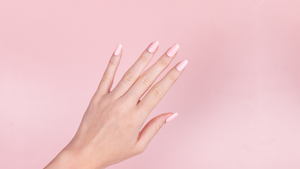
Are you looking for a fast, easy way to get salon-quality nails without the hassle of going out or paying sky-high prices? Press-ons may just be the perfect solution! If this process seems daunting, you're not alone. We're often asked - how do you apply press on nails? For those who have never tried press-on nails, they can be intimidating. But with Red Aspen Nail Dashes, the process is quick, easy, and non damaging for your real nails.
Like a great friend, we love to share all of our tips and tricks to save you time, money, and frustration so you are left feeling empowered and beautiful!
In this blog, we will teach you all there is to know on how to apply press on nails so that you can get beautiful results at home every time. We’ll cover different types of press-on nail options available, tips for preparing your hands before application, and detailed instructions for applying press-on nails with Red Aspen’s updated instructions included. Keep reading for everything you need to know about getting the perfect manicure with press-on nails!
Why Salon Quality Nails at Home Are a Great Option
Press-on nails are a fabulous way to get salon-quality nails without the hassle of going out or paying sky-high prices. Whether you need an ultra-glamorous look for a special occasion, an everyday nail look, or a nail design to match a specific outfit, there is a Red Aspen Nail Dash for you. Dashes come in an array of shapes, sizes, and colors, giving you endless possibilities for creating your perfect mani look. Press-ons have become increasingly popular due to their convenience and affordability - they can be applied anywhere with minimal effort and no professional help needed.

Plus, Red Aspen press-on nails last longer than traditional nail polish, so you don’t have to worry about chipped or smudged nail polish ruining your look. With press-on nails, you can achieve beautiful results quickly and easily at home!
Press on Nails Instructions and Tips for Using Red Aspen Manicure Tools
Our #1 tip is to follow proper nail prep instructions to help your press-on nails stay put. Before you start applying your Nail Dashes, it’s important to make sure you have the right tools and supplies. First, choose a nail style that best suits your look - whether that means bright colors or subtle neutrals is up to you!

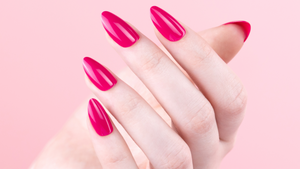
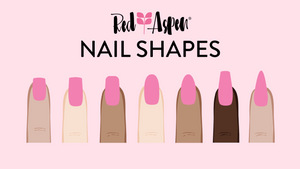
Then pick out a shape and length - almond-shaped nails or coffin-shaped nails may be great for special occasions and your style, while shorter nails may work better for everyday wear.
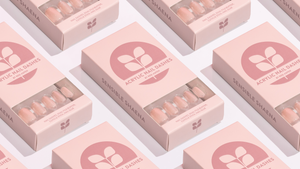
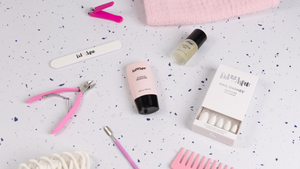
Next, make sure you have all the necessary manicure tools for application. Luckily for you, Red Aspen press on nail kits have everything you need to achieve the perfect press on nail set. Here is what is included in every box of Red Aspen Nail Dashes:
- 24 - 30 Press On Nail Dashes in various nail sizes
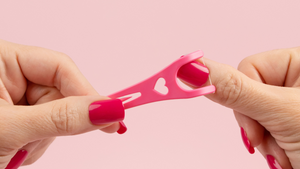
- Dual-sided mini file
- Mini nail glue
- Mini cuticle stick
- Insert paper

Pick the Right Press On Nail Size
Choosing the right press on nail size for each nail is essential to achieving a flawless manicure. You want the press on nails to fit comfortably and securely on your natural nail beds, without being too tight or loose. This will help make application easier, more comfortable, and prevents the risk of damaging your natural nails.
There is a range of nails inside each box of Red Aspen press ons. Lay out the nails and hold up each press on to your nail bed to see what sizes fit best. Repeat this for all of your nail beds. Each set of Red Aspen Nails comes with 24 - 30 press on nails, so you will have extras.
Be sure to save the remaining press ons in case you need a replacement later!
Important note - There are numbers on the back tip of each press on nail. Nail numbers range from largest (size 0) to smallest (size 9 or 14, depending on the set).
The number applies at the top, furthest from the cuticles. If you are in between sizes in the press on nails, you can easily customize the press on nails and file down a larger nail to the nail size and shape that you want.
Applying Press on Nails
It is now time to customize and apply press on nails! If you are already wearing Red Aspen Nail Dashes, check out our blog How To Remove Press On Nails. Steps include soaking your nails in warm soapy water, removing excess glue, and other necessary critical step(s).
Prep your Nails - Natural Nail Beds and Cuticle Prep
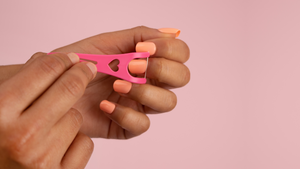
Proper nail prep will ensure your press on nails last. Begin with bare nails. Wash and dry your hands. Next, clean up your cuticles. The cuticle is the transparent skin on top of your nail that protects the nail area. Apply optional cuticle softener to cuticles, then push back cuticles using a cuticle stick or cuticle pusher on each finger. This provides a clean plate for your press-on nails to adhere to.
Be gentle to your cuticles, and never tear or completely remove them. Using a cuticle nipper, remove dead excess skin along the cuticle line. Finally, use a cotton ball with rubbing alcohol or nail polish remover to clean the nail one final time to remove any oils or lingering substances.
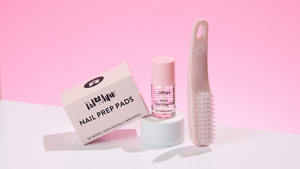
Prep your natural nails by first cleaning them with an alcohol prep pad, a cotton ball soaked in alcohol or nail polish remover. Be sure to remove all dirt and oil from your oil plate.
Lightly file nail bed using a nail file enough to create a rough surface. Both of these steps result in better nail dash adhesion to the natural nail bed, and will help keep your press on nails from popping off.
Optional: You can also use a nail file or mani clipper nail clipper to file or trim natural nails to the desired length.
Organize your Press on Nail Sizes
Reminder: the number goes on the TOP of the nail, furthest from your cuticle.
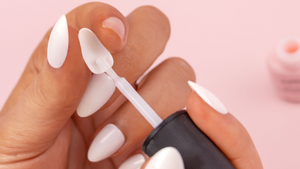
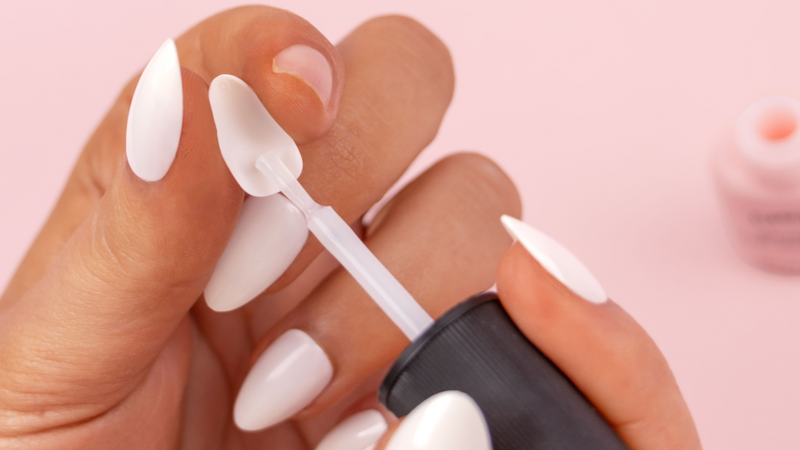
Next, grab the Brush on Nail Glue

Make sure the surface of your natural nails is clean and dry before applying nail glue. Apply nail glue to your natural nail that covers the full nail. When using a Brush on Nail Glue, applying fake nails is just as easy as applying a top coat. Simply swipe a layer of Brush on Nail Glue to your natural nail bed and align the press on nail first to your cuticle at a 45-degree angle.

Press the nail dash to your natural nail firmly for 30 seconds to ensure a strong bond while the glue dries.
We recommend starting with your pinky and ending with your thumb when applying Nail Dashes.
If you are wanting to wear the fake nails for a shorter period of time, simply brush a thin layer of glue onto the back of the Nail Dash itself and apply to your natural nail. To make your press on nails last for a longer period of time, apply a thin layer of glue to both your natural nail and the back of the nail dash for a more firm hold.

Last Step: Customize your press on nails length and shape
Once your Nail Dashes are applied, use a nail file and adjust your Nail Dashes to the desired length.

Optional: You can also use a nail reshaper to customize press on nail shape and length. For example, use the nail reshaper to take a medium coffin nail and turn it into a short coffin, or a medium almond into a short square nail.


Other How to Apply Nail Dashes Resources
Curious to learn more on how to apply fake nails? Check out the content below!
Conclusion
Applying press on nails can be a fun and easy way to get beautiful manicures in the comfort of your own home. Press-on nails can be worn for up to two weeks and are an easy way to mix up your mani in minutes! Leave the nail salon behind with Red Aspen press-ons.
Learn more about Red Aspen Nail Dashes by clicking here. Plus, when you are ready to begin the removal process, make sure to check out our blog: How to Remove Press On Nails.
Written by: Kerry Cron
Done reading? Return to home.


