So, you’ve got your Red Aspen Pressed Powders and Magnetic Palette — now what? As you know, pressed powders can be used for a variety of makeup purposes from blush, contour, and of course, eyeshadow! We've posted some really amazing makeup tutorials, so be sure to check out our blog on Building Your Dream Makeup Palette with Red Aspen Pressed Powders!
There's quite a few looks to test out, and we've got more below! Go ahead and grab your new palette, your favorite new Red Aspen Makeup Brushes, and let’s get to work!
Simple Two-Step Technique
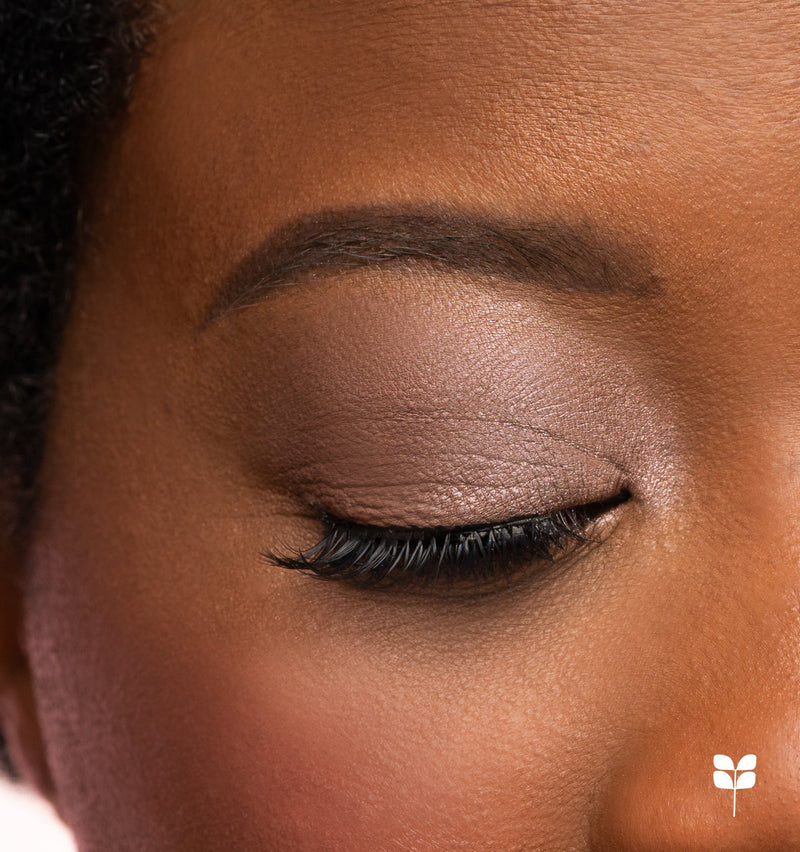
Just like its name — the two-step eyeshadow look is simple, making it an easy, natural look for everywhere wear (every-wear, if you will!). For this routine, you’ll need two Pressed Powder shades and your Blending Brush (E54). When choosing your first shade, we recommend you grab a medium shade you would use for your bronzer or blush — like Worthy. For your second shade, choose one of the shimmer shades, for example: Enlightened.

Step One
Using your E54 brush, dip into your medium shade and gently buff it into the crease of your eyelid. The goal is to give your eye some depth by deepening the crease. Wipe off the excess color from your brush so you can start fresh with it.
Step Two
Next, using the same brush, dip into your highlight shade. Apply that shade directly onto the lid to create a fresh, natural look.
That’s all there is to it! You can add any finishing touches you desire, like eyeliner, mascara, and false lashes and voilà! You’ve just completed the Simple Two Step eyeshadow look with Red Aspen Pressed Powder.
With this look, you can play around with whatever shades you want. For a more vibrant look, try Imagine as your base shade and Whimsical as your shimmer shade. The possibilities are endless!
Gradient Technique
This look is so quick and easy, it’s often referred to as the “car makeup technique”. For this routine, you’ll need three different Pressed Powder shades, your Medium Eyeshadow Lid Brush (E56), and your Eyeshadow Detail Brush (E58).
For your first shade, grab a lighter color — maybe with some shimmer! We suggest Gifted for a matte look or Enchanted for a more metallic feel. When it comes to your second shade, you’ll want a medium color like Clarity. Lastly, grab a deep shade for your third color. Treasured should do the trick.

Step One
Using your Medium Eyeshadow Lid Brush, tap into your lightest shade (Gifted/Enchanted) and pack the color into the inner third of your eye, near the corner. Wipe off your brush to prepare for the next color.
Step Two
Next, dip into your medium shade (Clarity) with the Medium Eyeshadow Lid Brush and apply it into the middle third of your eye. Don’t worry too much about blending yet. Wipe off your brush to prepare for the next color.
Step Three
Once again using the Medium Eyeshadow Lid Brush (E56), grab your darkest shade (Treasured) and — you guessed it — pack it into the outer third of your eyelid. At this point, you should have three shades on your lid. You might be worried you look a little crazy, but don’t stress! It'll look better once you're finished.
Step Four
With your Eyeshadow Detail Brush, gently blend out the crease of your eye to help blend the colors together. You can blench as much or as little as you want.
You did it! That’s all there is to the Gradient eyeshadow makeup look. Whether you’re in the car and on-the-go or sitting in front of your makeup mirror, this look is perfect for anyone needing an easy eyeshadow routine.

Smokey Liner
The Smokey Liner look is perfect for wearing solo or pairing with your favorite eyeshadow look. For this technique, grab your Eyeliner Brush (E52), your Eyeshadow Detail Brush (E58), and any shade of your choosing. We recommend Heroic for a traditional black liner.
Step One
To start, wet your Eyeliner Brush (E52) using water or your favorite setting spray.
Step Two
Stamp your shadow along your lash line, following the same shape you traditionally apply your eyeliner.
Step Three
Using your Eyeshadow Detail Brush (E58), gently swipe back and forth across the eyeshadow to create a soft line. Use a cotton swab or makeup wipe to clean up the liner as needed.
That said, you can always opt for a standard liner look, a colored liner, or a winged liner if that fits the occasion better. They're just as easy to apply, and we've laid out steps laid down in the image below:

Shop Red Aspen Pressed Powders
There you have it, three beginner-friendly eyeshadow looks everyone can can appreciate. Whether you’re a makeup pro looking for new techniques to try, or a beginner just learning the ropes, Red Aspen Pressed Powders are perfect for any eyeshadow look!
Shop our variety of gorgeous Pressed Powders, Makeup Brushes, and more at redaspenlove.com!