Let’s face it - some days you really wish you could ditch the mascara and eyelash curler for a flattering set of falsies. Maybe you’ve got an important meeting you want to set the tone for, or you’re eager to show off a fluttery new look for the besties. Whatever the case may be, fake lashes can be a total godsend when you want to look cute and turn heads in the process!
But what are false eyelashes anyway? And how do you use them? Better yet, how do you make sure your faux lashes stay on throughout the day? In this blog, we’ll tackle all the important questions you might have about fake lashes and throw in some helpful tips for good measure. Let’s get started!
What Are False Lashes?

False eyelashes (or falsies for short) are strands of synthetic hair, mink hair, or human hair that are carefully threaded into a small band, creating a lash strip that looks just like the real thing.
This eyelash strip can then be applied to your natural lash line for a set of full, fabulous lashes in minutes. Best of all, you can choose whatever look you’re going for, whether it’s bold and dramatic or something more subtle and natural. It’s that easy!
Why Do So Many Women Love False Eyelashes?
Women everywhere love fake eyelashes for a number of reasons. Some women are simply unhappy with their natural lashes (and that's ok!). Others love the freedom fake lashes give them to play around with different looks and lash styles.

Fake eyelashes also come in a number of different lengths and densities. This makes it effortless to pick the perfect length or lash density for the occasion, whether it's a fun first date, a formal dinner with coworkers, or a cute new post for your socials.
Your look might call for shorter, thinner lashes. Then again, you might decide that medium or longer full lashes look better after talking to a friend. Whatever you decide, you can never go wrong with more options!
Helpful Tips for Applying False Eyelashes
Applying false lashes is easy! All it takes is a bit of prep work to make sure you have the right falsies and makeup space to work in. Before you get started though, you'll want to have full makeup in place. Lashes should always come last for the best results.
Tip #1. Identify Your Eye Shape
Like most beauty products, faux lashes aren't a one-size-fits-all accessory. After all, no two women are the same. This means you'll want to identify your eye shape before loading up the shopping cart. This helps ensure you pick the correct-sized strip lashes for your unique features.
If your eye shape is more hooded, curlier strip lashes with more length in the middle will look best. On the other hand, if you have a more rounded eye shape, shorter lashes are going to complement you better and provide the right amount of volume.
Yes, finding the right kind of strip lash might feel like a chore, but trust that you'll want to narrow down your best fits sooner than later. Once you know what suits you, you can start collecting cuter, more complementary styles with confidence.

Tip #2. Ensure a Well-lit Workspace for Lash Application
Ever had issues trying to rush your makeup in a barely-lit room while your friends or family hound you about being late (and later you notice you have raccoon eyes?!)? You're not alone! Like any beauty essential, it's easy to forget that faux lashes are delicate, especially when you're trying to apply them quickly or in dim lighting. For this reason, it's best to pay special care to how you're handling your falsies and lash applicator tools, just as you would your lipstick, foundation, and other makeup essentials.
At the same time, you'll want to avoid ever leaving your fake lashes by an open window or in areas where they can collect dust. Again, those extra minutes making sure your workspace is clean and tidy will make a world of difference.
Tip #3. Perform a Patch Test for Sensitive Eyes

In a perfect world, you can pick whatever faux lashes you like best and just put them on. Things might get complicated though if you have sensitive eyes. This is one area where it's better to be safe than sorry. A quick patch test of the adhesive liner for your falsies can be a good idea.
While adhesive liner is safe and isn't generally known to cause issues or reactions, there's no harm in checking either way. Safety first!
How to Apply False Eyelashes Effortlessly
With prep work out of the way, it's time to start applying your faux lashes. When you're ready, follow the steps below.
Step 1. Measure Your Lash Line
Remember that advice about finding the right fit? That still applies. The goal is to make your falsies look as natural as possible. Since you've already identified your eye shape, now's the time to measure your lash line. You don't want the lash to be too long on the outer corners of your eye or it'll drag your eye down. Oof!
Placement on the inner corner of your eye is just as important. Lashes that are placed too close to your inner eye are likely to cause problems or flat-out annoy you all day. Once you've measured everything and feel good about it, you can trim any excess band from the outer corners of your lashes with a pair of mini scissors.
Pro Tip: Make sure to trim from the outer edge of the lash every time. This will help to maintain the shape and flair of your falsies when you're removing excess lash band.
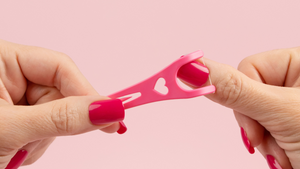
Step 2. Carefully Remove False Lashes from the Tray
Being super careful, remove your false lashes from the tray. You can use tweezers, a lash applicator tool, or your fingers. The key is to be delicate, like you're handling a flower.
Likewise, you only want to pick up the lashes from the corner of the lash band, never by the lash hairs themselves. You don't want to damage your falsies before you've even had a chance to wear them!
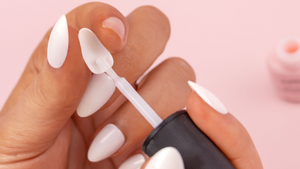
 Step 3. Apply Lash Adhesive to your Faux Lashes
Once you feel confident about the size and length of your faux lashes, it's time to apply them for that chic, perfect look! Precision is key here, so take your lash adhesive (we highly recommend Lucy's Lash Pen in the blackest black formula) and give it a good shake.

Next, carefully apply a thin layer of lash liner right above your natural lash line. If you want your liner to last a bit longer, you can apply a little extra dab to the inner and outer corners of your false lash extensions. It's that easy! Plus, the quick-drying formula of Lucy's Lash Pen means you won't have to worry about the adhesive running or dripping! Win-win-win!
If you want to use standard lash glue, apply a thin layer of the adhesive along the length of the lash band. Wait about 20 seconds for the lash glue to become tacky, and you're ready for the last step!

Step 4. Apply Your Faux Lash to the Lash Line
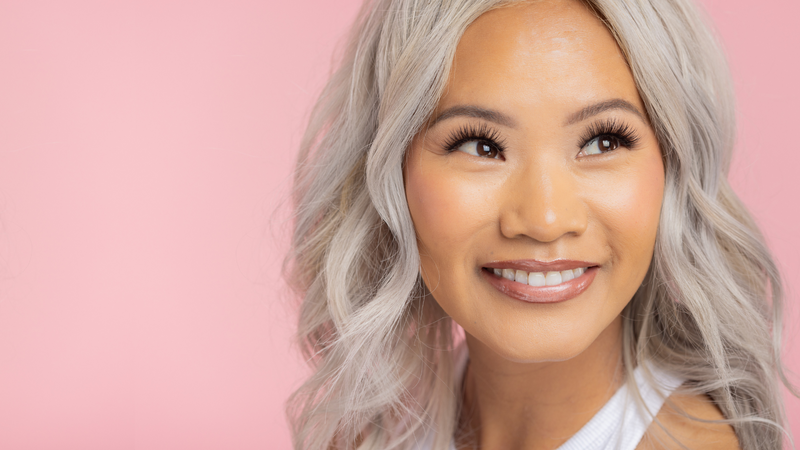
With everything ready, gently place your false lashes directly on top of the liner with your fingers or a lash applicator tool. Use light pressure and wait for the adhesive to dry. Now, give yourself a pat on the back and celebrate how cute and confident you look!
Pro Tip: Removing your false lashes is just as easy. Simply use a cotton swab dipped in makeup remover to dissolve the glue along the lash band. From here, you can gently remove the lashes by the band and store them in their original case for later.

Chat with the Beauty Experts at Red Aspen
Looking for more ideas to add that something extra to your eye look? Chat with the beauty experts at Red Aspen! Our brand ambassadors are happy to tackle any and all questions you might have about enhancing your beauty routine.
Likewise, feel free to check out our blog for even more tips and tricks to unleash your inner makeup artist. From the perfect wedding season looks to the best back to school nails and more, we've got you covered!
Written by: Nathan Jones
Done reading? Return to home.